Welcome to our website !
Shhh...armchair chef in the making...please do not disturb...


that's how HHB looks like after going through so many books...of course, she is much rounder and many times fatter than cute pinky piggy!
Well, this is one of the little perks that I get to enjoy being a SAHM (aka full time housewife). Sometimes you will see me lounging around, under bright day light while my working friends are probably slogging away in front of their computers or attending yet, another meeting. Ah K, if you are reading this, please go ahead and envy me ;')

For the past weeks, I have been working very hard...I don't think I was ever that hardworking when I was a student. I am not dreaming to become a chef or a baker...I was just trying to gather as many meal ideas as possible. It is high time I add a few new items to my family meals. I was a complete culinary idiot (I am still one) before I started baking and cooking for my family. Despite reading tons of cookbooks and magazines for the past few years, I am still relatively new to the culinary world, probably because I have been an armchair cook all along ;) I enjoying gawking at illustrations of delicious, lip-smacking dishes, sometimes I even bothered to copy down the recipes, but I hardly transform those instructions into a real dish to be served at my dining table. Most of the time I chicken out...be it due to the ease of getting the ingredients or the techniques or skills required. I tend to move back to my comfort zone, to prepare meals that I could do with my eyes half opened...dishes that I do not have to keep referring to the recipe for fear of missing out some key ingredients, or meals that are oh-so-forgiving that a lazy cook like me could get away with it easily.


sources of my inspiration...free, from the public library
For the last few years, not a single day has passed without me learning something new about food. Yet, I am still hungry for more...

...what about you?


I have always wanted to add a fluted tube pan or commonly known as bundt pan to my kitchen collection. However, my old oven seems too small for a 10" cake pan. Now, with a much bigger oven, I didn't wait too long to get my hands on one of those non-stick bundt pans when I dropped by a local baking supply store. There was only one sitting on the shelf, and I thought it must be waiting, all this while, for me ;)

No, it is not a Nordic Ware bundt pan...it is a much cheaper version. As you can see, the ridges on the finished cake is not as clear or distinct compared to those baked with a Nordic Ware pan. But, I am still very happy with it :)


A Bundt pan is a fluted (with indents and ridges) tube pan. The word Bundt is actually a registered trademark of Northland Aluminum Products Inc., the maker of Nordic Ware. Bundt is derived from the German word “bund,” which means “a gathering of people.” Hope over here if you are interested to know the story behind the bundt pan.

A bundt pan is great for making cakes that have got dense batters, eg coffee cakes. Just like a chiffon tube pan, the hole or the tube in the centre of a bundt pan promotes even baking. The fluted sides and ridges provide a greater surface area which produce cakes with more crust. With the attractive design, even for a cake decorating dummy like me, I am able to bake a lovely cake that I am proud to serve it to my guests. With only a light dusting of icing sugar, or a drizzle of icing or chocolate glaze, one can easily bring the already very pretty cake to even greater heights.


This old-fashioned banana cake is a basic cake that anyone can bake at home. I am sure it is also an all time favourite for many of us. Hoping to get a lighter texture, I replaced plain flour with cake flour and reduced the sugar amount slightly, I also sifted the flour twice, so as to incorporate as much air as possible to the batter. If you like a rich, dense and moist texture, then this is not the kind of cake you will like.


The finished cake is something I have aimed to achieve. The crumbs are soft, light and fluffy...not overly moist and yet not on the dry side...I could finish up two slices without feeling full or rather, guilty ;)


My late morning tea...a slice of banana cake with  a cup of 'latte'...my silly attempt at creating latte art, lolz. No, I don't have an espresso machine in my kitchen, just a simple battery operated whisk which I got as a gift, for frothing milk. As the picture couldn't speak for itself, I'll have to explain that I was actually trying to dust a heart on the milk foam...but it turn out like a lump of dirt (^^''') I will work harder on this.


I was blessed with a cool and nice morning today. The storm in the middle of the night has driven all the heat and I was greeted with clear blue sky. My quiet morning break by the window...all gone in 5 minutes. If not for my failed cup of latte, I felt as though I was enjoying a cuppa inside a cafe :)

I hope you had a great morning too...and not forgetting...

Happy 100th International Woman's Day to all of you!


Old-fashioned Banana Cake
Ingredients

150g unsalted butter
2 tablespoons olive oil
150g caster sugar (I cut down to 120g)
2 large eggs, lightly beaten
1 teaspoon vanilla extract
3~4 medium size banana, mashed
4 tablespoons milk, room temperature
240g plain flour (I use cake flour)
1 teaspoon baking soda
1/2 teaspoon baking powder
pinch of salt


Method:
  1. Grease and flour 10" fluted tube pan. Set aside.

  2. Sieve together flour, baking soda, baking powder and salt. Set aside.

  3. With an electric whisk (medium speed) beat the butter until creamy. Add sugar and olive oil and beat till the mixture turns pale, light and fluffy.

  4. Dribble in the eggs gradually and beat till incorporated in the batter.

  5. Add vanilla extract. Beat to combine.

  6. Add mashed banana, stir with a spatula to combine.

  7. Sieve over half of the flour mixture and add half of the milk. Fold the mixture with spatula until the flour is just incorporate into the batter. Repeat with the remaining flour mixture and milk.

  8. Spread batter into prepared pan and bake in pre-heated oven at 180 degC for 35~40 min or until golden brown or a toothpick inserted into the centre comes out clean. Unmold and let cool on a wire rack.

Recipe source: adapted from Food & Travel magazine
my kitchen...the heart of my home...


a place where cakes and bread are baked...


a place where meals and memories are created.


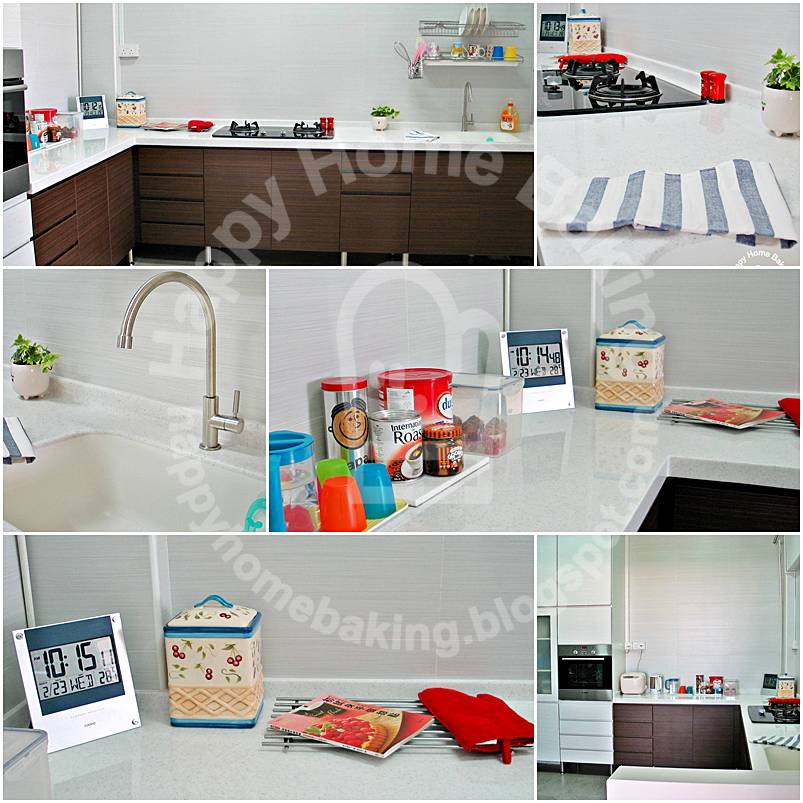
It is with much hesitation that I decided to put up this post. My newly renovated kitchen has got nothing to boast about. It is a far cry from those beautiful kitchens you see on home and deco magazines.  With bare walls on most part of the kitchen, it looks almost half-done. So, please don't laugh as I walk you through my kitchen. Even the 'gas-pipe man' jokingly asked me was it because I do not have enough budget to install the top cabinets (^^''')

But, that is how I wanted my kitchen to be. A place that serves its primary function for cooking simple meals, with utensils easily accessible, enough storage space for a small family, and most important of all, one that requires minimal maintenance. With a higher than usual ceiling height, without the top hung cabinets, I no longer had to climb up a ladder each time I needed to clean them. Even with a ladder, I was not able to reach deep inside the highest shelves. So, unless I am able to grow taller by another 10cm, I would rather do without the extra storage space. The tower cabinet on the other side of the kitchen, furthest away from the cooking area, is built all the way up to the ceiling...which is 3m or almost 10ft high. I am using the uppermost shelves to store...'hopefully never gonna use but cannot be throw away items' aka my husband's military uniforms, boots, full pack, etc.


Here are my squeakily clean stoves...right after I gave them a thorough cleaning. I have opted to get a glass hob over a stainless steel one, again, for ease of cleaning. These gas stove come with inner flames...good for Asian type of cooking...lots of stir frying over high heat, and yet able to adjust to the lowest heat for slow cooking.


My humble kitchen...no expensive pots and pans nor delicate bone china for me to break ;') You are not able to find any crystal glasses, shiny cutlery, nor a single cast iron dutch oven or a standing mixer, not even a food processor. It is equipped with only the bare essentials...basic utensils that I can get by for simple, everyday cooking.

But, it is a place with no shortage of homemade goodies and desserts...a place that is seasoned with love and warmth...a place where I will enjoy preparing meals for my family, and also a place I enjoy keeping it clean and tidy (I hope I won't loose the enthusiasm too soon!).

3D design
My finished kitchen is pretty close to what I had in mind (read about my kitchen design here). The cabinets were built according to my design with a good balance of drawers and shelves. I'll probably add some wall decals to jazz up the empty space a little, but I think an ipad velcroed to the wall will be great...I can watch J. Olivier while trying to re-create some of his recipes ;)


A kitchen is never complete without a fridge. Here's my fridge corner...a place that double-up as a notice board. The fridge is covered with fridge magnets I have collected over the years. I have also reserved the empty space beside it for a future food trolley...that is, if I ever need it.

So, that's it...we have come to the end of the 'tour'. In case you ask, I will do up a review on my oven only after I have tested all the function. Hope you enjoy this little peep into my humble kitchen, and maybe one day, I may just invite you over for a cup of tea ;)
These lovely Korean mochi bread buns came right out of my oven on a late Sunday afternoon.  I wanted to bake something badly, but I didn't have too much time or even the energy to lift up a manual whisk.


To quench my thirst for baking, I turn to this box of premix I received months ago. I emptied one of the two packets of the flour mixture into my mixing bowl, cracked an egg and added it into the bowl with some water. I mixed the mixture with my hand and I noticed that the dough was quite dry. I was tempted to add some more water but kept working away, and eventually I was able to gather up the mixture to form a nice smooth dough. The dough wasn't sticky or oily, it was so easy to work with. I divided the dough into nine equal portions and shaped them into little round balls. I let them rest, covered with cling wrap, while the oven is preheating. Just before I popped them into the oven, I sprinkled some water all over the dough. I suppose this is to make the crust crispy, just like making French breads.


35 minutes later, I was rewarded with a tray of crackly plump balls. Also known as black sesame tapioca rolls (tapioca flour is listed as one of the ingredients), these buns have got a hard but thin crispy crust and the inside was soft and very chewy.


It was the first time I have tasted a Korean mochi bread. The bread is not sweet at all and it doesn't have much flavour except for the black sesame. It is almost like eating a plain but chewy bread roll. They tasted really good when fresh out of the oven, and I would pair it with a cup of latte or something sweet such as hot chocolate or milo.

In case you ask, I have seen similar mochi bread premix ($9+ a box, comes with 2 packs) at the following Korean grocery shops here. To my delight,  I also happened to come across the Korean omija tea (read about it my earlier post here) at these two shops :)

S-Mart (Chinatown Point)
133 New Bridge Road
#01-01 A/B Chinatown Point

Lotte Mart (Bukit Timah)
17 Lorong Kilat
#01-02 Kilat Court

I have also included the recipe here as the instruction printed on the package is in Korean.


Korean mochi bread

Ingredients:
(makes 9 bread buns)

250g (1 packet) mochi bread flour mix
1 egg
70ml water

Method:
- Mix flour, egg and water in a mixing bowl. Gather to form a soft dough.
- Divide dough into 8 ~ 10 equal portions. Shape into round balls.
- Place doughs on baking tray lined with parchment paper. Cover with cling wrap or a damp cloth, leave to rest for about 15mins.
- Spray the doughs with some water.
- Bake in preheated oven at 180degC for 30~35mins or until golden brown.
Note: These rolls taste best on the day they are made.
I am gonna take a huge step back in time...


...that is, back to the trail head of my baking journey.

With a newly acquired oven and a short break from baking, I will have to go back to the beginning, following the trail that I have left behind since I last embarked on my baking journey. I will start from the very basic, moving one step at a time, hopefully by doing so, I am able to learn and re-learn some of the things that I have picked up over the past few years. I wish I could also move out of my comfort zone, be a little more adventurous in trying out new recipes; be brave enough to challenge more advanced techniques, especially those which make my knees wobble before I even got through reading the first three steps of the instructions.

As I move from one milestone to another...making quick breads, cookies before progressing to layered cakes and bread making, I am certain I would take side steps along the way. It is hard to fight off the temptation to replicate mouth-watering desserts that appeared on my screen each time I visit a food blog, it certainly doesn't help that I am a loyal follower to a long list of favourite food bloggers. Thanks to them, they are my daily sources of inspirations, my teachers :)


So here I am, back to the basic...my first batch of muffins right out of my oven.

Muffins are one of the first few 'cakes' I learned to bake from cookbooks and online baking sites.  I could still remember reading up on how to achieve the perfect high-domed muffins. Not only are muffins simple and quick to put together, they are also very forgiving and highly adaptable. As long as you stick to some of the fundamental baking rules, you can always play around with the ingredients.

These Mixed Berries Muffins are unique to my baking repertoire though. They are made using the 'creaming method' instead of the usual 'muffin method' which I am more comfortable with. The process of making these muffins is not very different from making cupcakes or butter cakes, where you beat butter and sugar together before adding eggs, milk and fold in the flour to form the batter. 

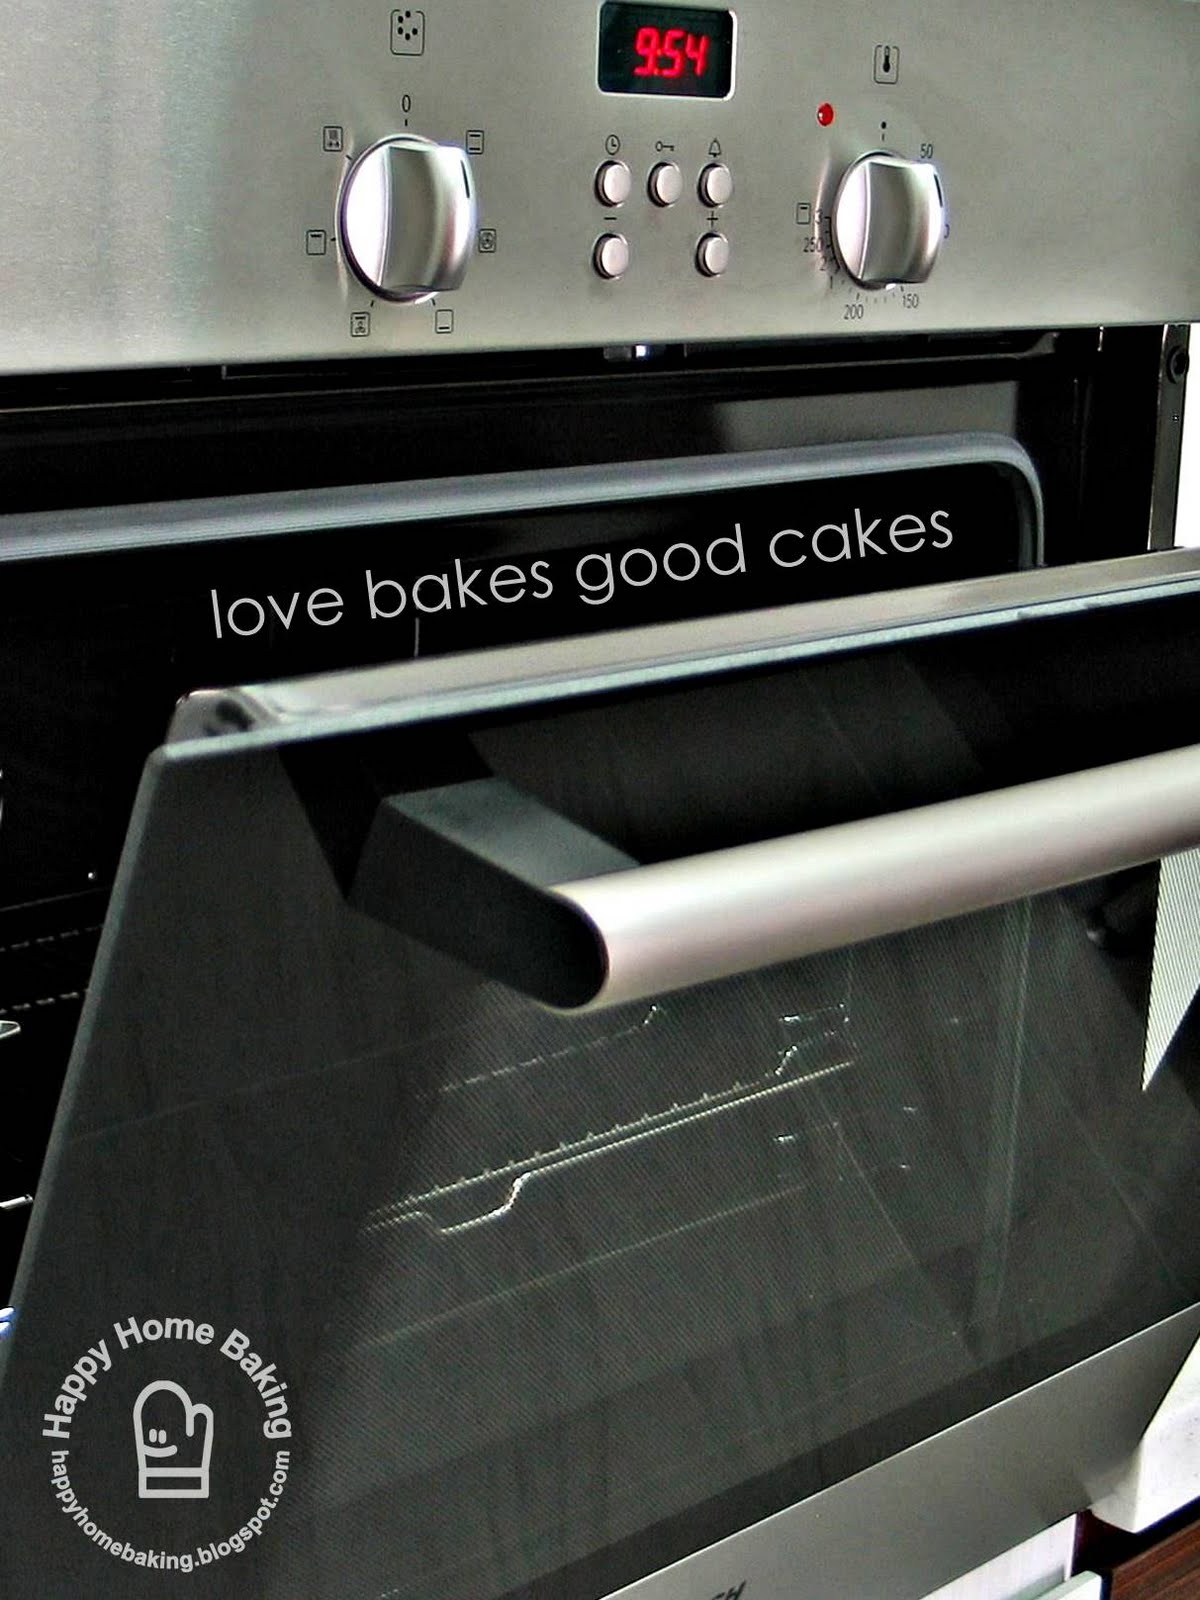
I baked them using the top and bottom heat function of my Bosch oven. The muffins were baked to a nice golden brown when the cooking time was up. It is great that my new oven comes with a digital timer. The oven will not turn off when the timer beeps. Which is what I prefer. Baking time stated in recipes serves as a guide only, everyone's oven works differently, so we may need to either remove the cake earlier from the oven or leave it to bake a minute or two longer. The oven function is not as limited as it seems. It actually allows you to set it in such a way that you could let it turn on or/and turn off automatically at a specific time, I find this very useful for heating up food or using if to cook food where cooking time is not that critical.


I must confess, although I very much prefer muffins that are made using the muffin method, these are by far the most flavorsome muffins I have ever made. The crumbs are soft, fluffy and buttery, if not for the berries, they taste just like their pretty cupcake cousins. I have lost my sweet tooth totally, even though I had taken the liberty to cut down on the sugar amount, I still find them a little on the sweet side. My children have no complains though.  These little cuppies will go very well with a cup of hot tea...be it on a late morning or a lazy afternoon.

Would you care to join me on my baking trail?


Mixed Berries Muffins

Ingredients:
(makes 8 muffins)

110g unsalted butter, soften @ room temperature
50g caster sugar (original recipe calls for 60g)
50g light brown sugar (original recipe calls for 60g)
1 1/2 eggs (large), lightly beaten
1/2 teaspoon vanilla extract
40ml milk
160g plain flour ((original recipe calls for 140g flour, 20g almond powder)
1 teaspoon baking powder
1/2 teaspoon salt
100g blueberries
100g strawberries (optional)

Method:
  1. Wash and drain blueberries and strawberries. Cut strawberries into small chunks. Dry berries with paper towels and toss them in 1~2 teaspoons of flour(extra). Set aside.

  2. Sieve together flour, baking powder and salt into a mixing bowl. Set aside.

  3. With an electric whisk, cream butter with sugar till the mixture turns pale, light and fluffy.

  4. Dribble in the eggs gradually and beat till incorporated in the batter.

  5. Add vanilla extract. Whisk to combine.

  6. Add milk followed by two tablespoons of the flour mixture in Step 2. (The flour mixture is added to prevent the batter from curdling when the milk is added.) Whisk to combine.

  7. Sieve over remaining flour mixture and add in the berries. With a spatula fold the mixture until the flour is just incorporate into the batter. DO NOT over mix. The batter should be thick and not thin and runny.

  8. Spoon batter into paper muffin cups. Bake in pre-heated oven at 180degC for 25~30 min until muffins turn golden brown or a toothpick inserted into the centre comes out clean. Let cool on a wire rack. Serve warm.

Recipe source: adapted from 初试身手做甜点, 信太康代
I thought I have lost it....


but it came back...


I have taken a long break from blogging. It has been months since I last baked something. Even a brand new oven failed to tempt me. It was left cold, seating in the cabinet for 2 months since it was installed. It was left untouched most of the time, except for the occasional visitors...without fail, anyone who came to visit my newly renovated kitchen would open the oven door to take a peep ;)

Baking is the last thing I had in mind for the past few months. I was left alone to tackle the humongous task of packing, unpacking, shifting...not forgetting the endless 'cleaning sessions'. The entire process, has reunited me with every single corner of my house! I have also been taking my own sweet time to unpack the 30 over boxes of stuff. It could take me one whole morning to find the 'right home' for each single item in just one box. I spent quiet moments, looking through all the keepsakes which I have been keeping over the years. I am also suffering from the 'new house syndrome'...being over zealous in trying to keep the house pristine clean. I hope I am able to get over it really really soon!

All the cleaning, scrubbing, and endless chores has taken its toll on me. I was in no mood to bake anything and nothing seems to inspire me. I even harboured the idea of giving up blogging altogether. Leaving the blogosphere as quietly as I have entered it four years ago.

It was one of those spur-of-the-moment thingy when I gave the new comer a thorough clean up.  Once I turned on the oven for the first time, the 'sparks' that I have been waiting for has finally ignited my passion for baking.


My first bake of the year is this Strawberry Galette. It is nothing new to me. I tried making it when I first saw it over at Laurreen's blog, Eat and Be Happy, except that mine is a far cry from hers ;)


This strawberry galette(French free form tart) is the right choice for a first bake from a new oven. It is very simple to put together and I would say it is not that sensitive to the oven temperature as compared to a chiffon cake. I adapted the recipe from joyofbaking and replaced some of the plain flour with wholemeal ones. It is a delightful dessert, best served freshly baked over a cup of tea. You also get to enjoy the wonderful aroma when it is baking in the oven. My clueless kid came to ask me what our neighbour was cooking when he smelt something really nice from the living room. It has been so long that he has already forgotten the familiar buttery fragrance that used to fill our kitchen :')

The next time I were to make this again, I would use more strawberries, I only used slightly half a punnet, stingy me! See, there is always a 'next time'. I believe it is this exact 'next time' mentality that keeps me going. There is always something I could improve upon and done better the next time.


Strawberry Galette
Ingredients:

pastry:
125g plain flour
50g wholemeal flour
1/2 teaspoon salt
1 tablespoon granulated white sugar
113g unsalted butter, cold, cut into small cubes
2 tablespoons ice water

filling:
1 punnet (250g) strawberries
2 tablespoons granulated white sugar
1 teaspoon corn starch

1 egg plus1 tablespoon water, lightly beaten
1 teaspoon granulated white sugar


Method:
1. Mix plain flour, wholemeal flour, sugar, and salt in a mixing bowl. With finger tips rub the cold butter into the dry ingredients until the mixture resembles coarse crumbs. (It is important that the butter be cold so when it is cut into the flour mixture it becomes small, flour-coated crumbs. I use a fork to work the butter into the dry ingredients. If the butter starts to melt away during this process, stop and place the mixture in the freezer for 10-15 mins to prevent the butter from melting further. Continue the process when the mixture is well chilled.)

2. Add the ice water and mix until the mixture comes together to form a dough. Pat the dough into a round disc, place in a plastic bag or cover with cling wrap and leave it in the fridge for at least 1 hour to chill the butter and allow the gluten in the flour to relax.

3. Wash the strawberries, remove the stems and cut into halves or thick slices. Toss the sliced strawberries with the sugar and cornstarch.

4. To prevent the dough from sticking to work surface, roll out the chilled dough in between 2 plastic sheets or parchment papers to a 11" round. Transfer the pastry to a baking tray lined with parchment paper.

5. Layer the strawberries, overlapping each other in a circle on the dough, leaving a 1"~2" border. Fold the edges over the strawberries. Brush the dough with egg wash. Sprinkle with 1 teaspoon of sugar. Bake in preheated oven at 200degC for 20 to 25 minutes or until the crust is golden browned.

Recipe source: adapted from joyofbaking.com and very inspired by Eat and Be Happy.

A big thank you to everyone who took part in my blog anniversary giveaway. Thank you all for your well wishes...your kind comments and encouraging words gave me the fuel I needed to keep blogging :)

As promised, I am happy to announce the winner of my blog giveaway. To pick the winner, I assigned a number to each participant's comment and used a random number generator to generate a number...

...and the lucky number is....


.....44!


Congratulations to neyeeloh of 我的厨房乐园, you are the winner of this book '爱上蛋糕:我的甜蜜烘焙厨房'! Please leave a comment stating your mailing address and email address and I'll send the gift right over to you (^^)

To the rest of you, I hope you are not too disappointed. I have already bookmarked a couple of recipes from this cookbook and I can't wait to post them here. I will also be hosting giveaways once in a while and everyone will stand a chance to be the next lucky winner :)

My home renovation is finally completed and I am in the midst of cleaning every single inch and corner of my house. I haven't even started unpacking! I hope I can get back to my baking routine soon...really looking forward to the day when I could turn on my new oven :)